
Brewing The Master of Keys in cEDH

What if Tivit, Seller of Secrets cost half as much, could be reasonably built several different ways, and had a way to combo straight out of the graveyard? Well, that card would be an absolutely broken cEDH all-star, which leads me to Duskmourn‘s newest cEDH-viable commander: The Master of Keys.
Here Comes the Doorman
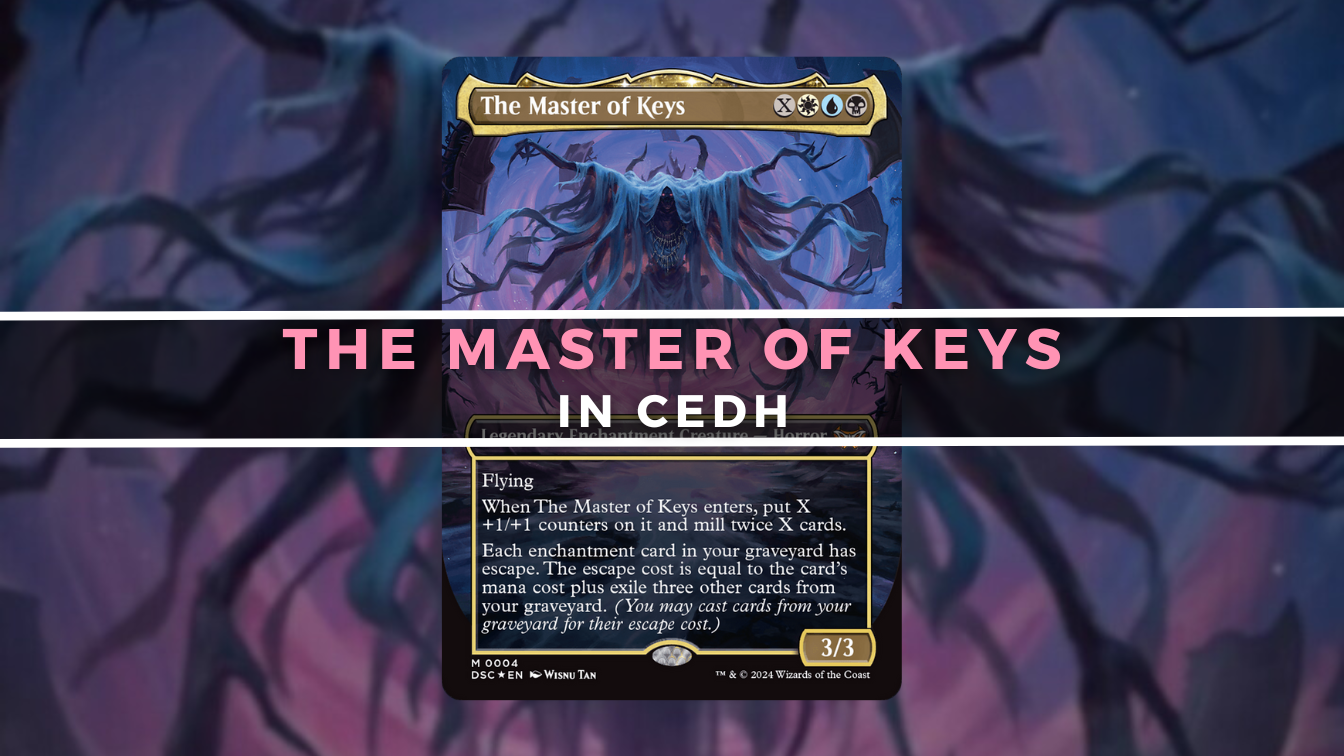
First off, a breakdown of the card. For , The Master of Keys is a 3/3 legendary enchantment creature with flying and two very relevant abilities. The first is a triggered ability, dependent on , which will cause you to put X +1/+1 counters on The Master of Keys when it enters, as well as mill twice X cards. The second ability, a static effect, grants an escape cost to each enchantment card in your graveyard, where the escape cost is equal to that card’s mana cost plus exile three cards. Put these two together and you’re left with a monster of a commander, an enchantment-only Underworld Breach that sticks around turn after turn and comes with a built-in means of filling the graveyard.
Now, The Master of Keys is not the devastatingly broken Tivit-reskin that I described earlier, but it does do a pretty good job of approximating the qualities listed. This is a commander that wants to sit around in the command zone until your mana pool is full so as to max out that mill trigger, but it can be cast much earlier for simply if necessary. As for Tivit’s battlefield-based token buffet, the value generated by The Master of Keys isn’t one that’s nearly as easily interacted with. Instead, we’re optimizing for a different zone: the graveyard.
The Doorman’s Gameplan
Now that we know what this commander is capable of, it’s time to start rounding out the decklist. The Tivit comparison is pretty clear thanks in large part to the strengths and limitations that come with playing Esper, but that’s not the entire story. Rather, The Master of Keys is all about flexibility, thanks in no small part to that in its mana cost, and the gameplan reflects this.
Rather than play a heavily controlling list which is otherwise strictly optimized for a single out a la Hullbreaker Horror or Time Sieve combo, this is a deck that can close out the game on just about any turn. Early game? Try out Necropotence lines. Turns four or five? By now our myriad infinite mana combos should be live. Is the game going even longer? Then max out the resources for your Ad Nauseam. Or, if none of this is working out, then just jam the classic one-two-punch of Thassa’s Oracle and Demonic Consultation.
It’s this pivotal flexibility, the opportunity to comfortably close out the game across turns, that makes The Master of Keys such an interesting alternative in the Tivit-dominated world of Esper cEDH (especially now that Jeweled Lotus and Mana Crypt are banned). Granted, this deck isn’t nearly as happy on turn one as RogSi usually is, but it can hold its own. Similarly, we aren’t playing a dedicated stax gameplan, either, so there’s no pressure to wait until the game is clogged to find a window. Sit back, think about the pace of the game, and select your win accordingly.
The Combo Suite
Speaking of combos, let’s walk through the nitty-gritty of what this deck is working with.
The first class of combos is the usual fair of generic goodstuff available to Esper: Tainted Fish, Flash Necro, and Teferi Kitten. Tainted Fish is essentially a given: if you are playing any combination of blue and black, you will be playing Thassa’s Oracle and its friends, Demonic Consultation and Tainted Pact. Meanwhile, Flash Necro (the combination of Necropotence and any flash enabler) is effectively a second copy of Ad Nauseam, so while this doesn’t guarantee a win, it’s the next best thing. Drawing thirty or so cards will usually get you there, unless luck is against you. Finally, there’s the two-card win line based off of Teferi, Time Raveler and Displacer Kitten. Similar to Flash Necro, this is a combo composed of two already solid standalone cards, one effectively being a Defense Grid and the other is, well, Displacer Kitten. Assemble the two, throw in a mana-positive (or mana-neutral) rock, and suddenly you’ve drawn your deck. Not too shabby.
The second class of combos is where things get a little more complicated, not because of the intricacies of the loops, but more so because these are particularly attentive to our commander. The first of these is the combo of Abdel Adrian, Gorion’s Ward, either Animate Dead, Dance of the Dead, or Necromancy, and any number of mana rocks. Here’s how it works.
Dancing Abdel
Given Abdel in a graveyard, either enchantment in hand, and a rock in play, first cast your enchantment of choice (we’ll stick with Dance of the Dead for this example because I like the name Dancing Abdel as our combo’s moniker), targeting Abdel. Abdel will be reanimated by Dance, leading to his enter-the-battlefield trigger going on to the stack. Target Dance and the mana rock, causing both to be exiled, resulting in Dance’s leave-the-battlefield trigger causing you to sacrifice Abdel. Abdel dies, causing you to bring back all exiled permanents (Dance and the rock), at which point you’ll choose to have Dance go back on Abdel (remember, he’s in your graveyard now). You can float mana at each point in this loop, as the mana rocks exiled this way will come back untapped, leaving you with an infinite amount of mana and an infinite amount of 1/1 white Soldier tokens (not that you’ll need them), eventually ending the loop by either having Dance enchant another creature in your graveyard or simply choosing not to exile it at some point along the way.
What are going to do with that infinite mana? Simple! Cast The Master of Keys for X = some very large number, milling your entire deck, at which point you can reanimate Thassa’s Oracle with either Animate Dead (remember, our enchantments now have escape), or simply flashback the Sevinne’s Reclamation you just milled.
One of the best parts about this combo is that it is a loop which works even if The Master of Keys is in play, since you can exile it with Abdel’s trigger and send it to the command zone instead, allowing for your infinite mana investment later down the line. As we’ll see with our final infinite-mana combo, this isn’t a universal quality of our loops, and so the upside here should not be undersold.
Hullbreaker Horror
Like Tainted Fish, this combo is essentially a given for any midrange blue deck that can make use of infinite mana, but it has some extra value here that makes it all the more worthwhile. Like Dancing Abdel, Hullbreaker Horror can reset our commander.
Moving to the combo itself, this works by looping two mana rocks which, together, are mana positive. Resolve Hullbreaker Horror, cast any spell to start the loop, bouncing one of your mana rocks. Cast the rock again, floating mana from the other rock you’re using in the loop – say, Sol Ring and Mox Opal – then rinse and repeat. Tada! You’ve got infinite mana. Plus, if The Master of Keys is on the board, then feel free to bounce it as the last step in your bounce cycle, at which point you can – just like with Dancing Abdel – mill your entire deck and bring back a Thassa’s Oracle.
Two Cool Cats
Our final infinite mana combo is one which can’t reset The Master of Keys, and as such should really only be focused on if our commander is still in the command zone. On the plus side, however, the component cards – Displacer Kitten, Lurrus of the Dream-Den, and either Lion’s Eye Diamond or Lotus Petal – are already so worthwhile on their own that this combo is essentially a materialization of the deck’s layered prowess more so than it is a consciously constructed gameplan. So, on to the mechanism.
First off, control both Displacer Kitten and Lurrus, as well as have The Master of Keys in the command zone. Next, cast any of our three mana rocks, using the resultant Kitten trigger to flicker Lurrus. Sacrifice the rock, providing you with some finite amount of mana, and then recast that rock from your graveyard using Lurrus. Flicker Lurrus off of Kitten, resetting Lurrus’s once-per-turn clause, and then rinse and repeat. Now, you have infinite mana (but maybe not a hand, if you’re using Lion’s Eye Diamond), which you can sink into The Master of Keys.
Intuition
Rounding out our discussion of closing the game is Intuition, one of cEDH’s most interesting combo-enablers. Here, it can set up an all-in-one guaranteed combo victory, provided that The Master of Keys is in play.
The three cards you’ll want to grab are Dance of the Dead, Abdel Adrian, Gorion’s Ward (yes, we’re going Dancing Abdel here), and Tinybones Joins Up. Odds are you’ll be given Abdel every time, because that makes the combo as resource-intensive as possible. Assuming you are, you’ll then follow up by casting Tinybones Joins Up from your graveyard by paying its escape cost. When Tinybones Joins Up enters, you’ll target yourself with the discard trigger, allowing you to dump Abdel into the graveyard. At this point, since Dance is in your graveyard and has escape thanks to The Master of Keys; simply cast it, target Abdel, and start dancing. Infinite mana, infinite lifeloss, and infinite milling, all off the back of an Intuition.
The Doorman’s Hidden Tension
These last two combos, our Intuition line and the Two Cool Cats, reveal the one unfortunate quality of having such a flexible commander, and that’s that you eventually have to make a choice. Chasing an early Intuition makes Lurrus lines all the more difficult later on if things don’t work out, since now your infinite mana outlet has been exhausted with no way to flicker it. Fortunately, nearly all of this deck can operate with the commander just about anywhere – command zone or battlefield – but that’s not the same thing as saying all of this deck can. So, which path ends up winning out most of the time? Overall, I’ve found that it’s somewhere in between: a game which, like Atraxa, Grand Unifier, often involves casting your commander the turn before you move to close out the game.
Playing the Game
We know how to end the game, we know how our commander works, and we have fully appreciated the flexibility of our options. So, what does actually playing this deck look like, beyond the turns were we try and win? Well, we’re essentially working with an Esper goodstuff pile of control and tempo cards, retrofitted with a handful of additional enchantments.
The First Turns (Turns 1-2)
These first two turns are almost entirely dependent on the hand drawn, but there are some through-lines which are pretty universal. Like most cEDH decks, turn one is based around setting up our mana rocks – Moxen, Sol Ring, etc. – while turn two is the latest we’re aiming to deploy our first real card of the game. By this I mean that we’re hoping to play something like Blind Obedience on turn one, but it isn’t the end of the world if we can’t until turn two. Overall, these first two turns are foundational for creating the environment which we seek to maximize in the following two turns.
The Midgame (Turn 3)
In a normal midrange deck tech, I’d classify turns three and four as being the midgame, but in my experience with The Master of Keys I’ve found that turn four is such a reliable turn for closing things out that it warrants its own discussion. As such, the midgame conversation really just leaves us with turn three. So, what does that turn look like? Usually, we’re casting our commander.
This schedule for casting the commander is what I like to call Plan A – that is, A for Atraxa, Grand Unifier. Why? Because, like with most Atraxa lists, the deployment of our commander is a pretty substantial value play which can close out the game, but isn’t a direct guarantee that we will. There will be plenty of games where a turn three cast of The Master will mill you four or six cards and none are relevant, while there will be plenty more where you’ll see either Abdel or Dance dumped straight into your graveyard. Alternatively, sometimes deploying The Master is a setup for a turn four Intuition (more on that later), making the mill effect more incidental. Plus, speaking of incidental, we can thank Duskmourn‘s Demonic Counsel for essentially granting our decklist a second Demonic Tutor, as the cards milled by our commander will pretty consistently activate delirium.
Alternatively, if we aren’t casting the commander this turn, then we’re at a bit of a fork in the road: if The Master of Keys is already in play, then odds are turn three is focused on more value setup for turn four. Cast an Entomb, escape a Mystic Remora, things like that. If the commander hasn’t been cast, then we’re either pursuing some alternate out on the next turn – Lurrus lines, etc. – or gearing up for a long game. Grand Arbiter Augustin IV, anyone?
Average Win Turn (Turn 4)
As I mentioned earlier, this is the turn we are most suited for closing out the game. Yes, we can readily execute a Tainted Fish if the cards are in our favor earlier on, but by now we should most definitely have the rocks in play which are necessary to make infinite mana off of either Dancing Abdel or Hullbreaker Horror. Plus, assuming Plan A was executed, our Intuition line opens up, making things all the simpler. And, as with any black deck, there’s always Ad Nauseam.
Late Game (Turn 4+)
If our turn four hopes didn’t materialize, then that means we’re presented with two options: wait for the opportunity to dump a lot of mana into our commander – I’m talking Mana Vaults, Dark Rituals, anything and everything, or – if the commander is already out – play a tempo game where we loop Dress Downs, keep the pace with removal and countermagic, and watch for the best combo window to appear once our opponents’ resources have been exhausted.
Since we’re anticipating a win earlier than this, the decklist isn’t particularly honed for hard control the way other lists in the format are right now. As such, it’s important to pay extra attention to the rate at which we expend resources. You can’t counter all of our opponents’ spells, we can’t recast Cursed Totem if it’s destroyed (unless Lurrus is hanging around), and we aren’t going to be layering stax piece after stax piece. Instead, this late game strategy is an exercise in timing and patience. What can you let your opponents have, and what do you need to deal with? These are the questions we have to ask ourself in the twilight turns, so prepare for some tougher magical calculus.
Fun Things
What deck tech would be complete without an overview of some of the cool things which this commander enables that make it distinct? In terms of value plays, it all comes down to three cards: Mystic Remora, Dress Down, and Copy Artifact.
Each of these are cards which make the deck marginally better thanks to their ability to be looped with The Master of Keys. None of this is gamebreaking, but it does provide extra validation if our commander is cast earlier on as opposed to simply being used as an infinite mana outlet.
Mystic Remora and Dress Down are the most intuitive when it comes to their synergy with The Master of Keys; both are powerful enchantments that are going to hit the graveyard eventually, but thanks to escape this is functionally the same as saying they are going to be bounced back to our hand instead. With The Master of Keys in play, why ever pay more than to Mystic Remora’s cumulative upkeep cost when you could just escape it for instead? Alternatively, as far as Dress Down is concerned, that card will go back to the graveyard every end step, so feel free to redeploy it as necessary – or, if greedy, simply use it as an end step cantrip.
Copy Artifact, meanwhile, only has a loop in one case – but when it does come up it sure is fun: looping protection triggers off of The One Ring. Here’s how:
Control The One Ring and cast Copy Artifact, having it enter as a copy of The One Ring. State-based actions will cause you to sacrifice one of your two The One Rings, but not without you getting the enter-the-battlefield trigger from your newly-created copy. You’ll want to sacrifice the copy at this point, enabling you to escape it on your next turn. Congratulations, you now have the ability to give yourself protection from everything turn-after-turn, provided that you have enough cards to satisfy your escape costs.
One Last Thing…
As for other interesting combos, it is worth noting one more graveyard-based enchantment loop that my list isn’t on, but is being discussed pretty seriously by players testing out other decklists for The Master of Keys: Necromancy, Chronic Flooding, and Peregrine Drake. Here’s the rundown.
- Setup: The Master of Keys is in play, Peregrine Drake is in your graveyard, Necromancy is in hand or your graveyard, Chronic Flooding is enchanting a land you control, and you can produce a minimum of three mana from lands you control.
- When can you start this combo: On any opponent’s turn, at any point you have priority, but the actual loop won’t start until the cleanup step.
- How it works:
- Cast Necromancy, targeting Peregrine Drake. This causes you to reanimate the Drake, untapping at least three mana worth of lands (one of which is enchanted by Chronic Flooding).
- Move to cleanup step. Necromancy will be sacrificed at this point to its trigger, causing a round of priority to go around (normally players don’t have priority in the cleanup step, but because an ability triggered players will have an opportunity to act). Recast Necromancy, targeting the Peregrine Drake which is back in your graveyard (due to Necromancy having been sacrificed), and tapping the Chronic Flooding-enchanted land in the process. This will mill you the requisite three cards necessary to loop this step.
- Peregrine Drake enters, causing you to untap at least three lands (including the one enchanted by Chronic Flooding). After this step, there will be another cleanup step, at which point the loop can be continued.
- Eventually, you will mill your entire deck, finding Thassa’s Oracle. The last step is to cast Necromancy, targeting Thassa’s Oracle, and tada! You’ve now won the game on an opponent’s endstep.
This combo holds substantial promise due to its ability to be executed at instant speed, but given that it requires a bit more setup it is a bit easy to spot for the wizened opponent as well as slightly harder to string together simply due to the number of cards involved. That said, I’m eager to see how this experiment develops.
Wrap Up
More than anything else, The Master of Keys promises to be an interesting – and viable – take on Esper which postures as a real alternative to the current mainstays dominating this part of the color pie. Is it better than Tivit? Honestly, it just might be. With fast mana being taken out earlier this week, the flexibility of The Master of Keys could be all the more important. For the full decklist, you can check mine out here (credit to fellow TOODEEP-er MrLoverWu for parallel-brewing The Master of Keys alongside me, feeding me plenty of competing ideas as to what it means to play Esper Enchantress). Additionally, come on down to the newly-burgeoning Discord server for The Master of Keys, where we’ll be chatting all myriad ways this deck can be built!

